History Import Guide
You want to import your data to SongChant to get even more out of the app? You're in the right place! In this guide, you learn how you can request, download and import your data!
Step 1: Request your data
First of all, you should request your 'Extended Streaming History' from Spotify. This can be done by clicking this link and scroll to the section 'Download your data'.
Next, you should check the box 'Select Extended streaming history'. You don't need 'Account data' or 'Technical log information'.
You only have to select the 'Extended streaming history'. Do not select 'Account Data' or 'Technical log information', as we won't need them.
Then click the button 'Request data' to request your data.
Step 2: Confirm your request.
Spotify will sent you an email with a subject saying:
Confirm your Spotify data request
You can confirm the request by clicking the 'Confirm' button in this email. Now, Spotify will be collecting and preparing your data.
Step 3: Wait for your data
It can take a while before Spotify sends your listening history. Spotify claims that collecting your data can take up to 30 days, but recently, it's usually been within 48 hours.
Step 4: Download your data
When you finally receive the mail from Spotify, the wait is over and you're ready to download your data! Click the button 'Download' inside the email, and a .zip file will be downloaded. Once the zip file has been downloaded, you can extract the zip.
You should see files with names that begin with either 'Streaming_History_Audio_' or 'Streaming_History_Video_'. If this is the case, you downloaded the correct files.
Step 5: Upload your data
-
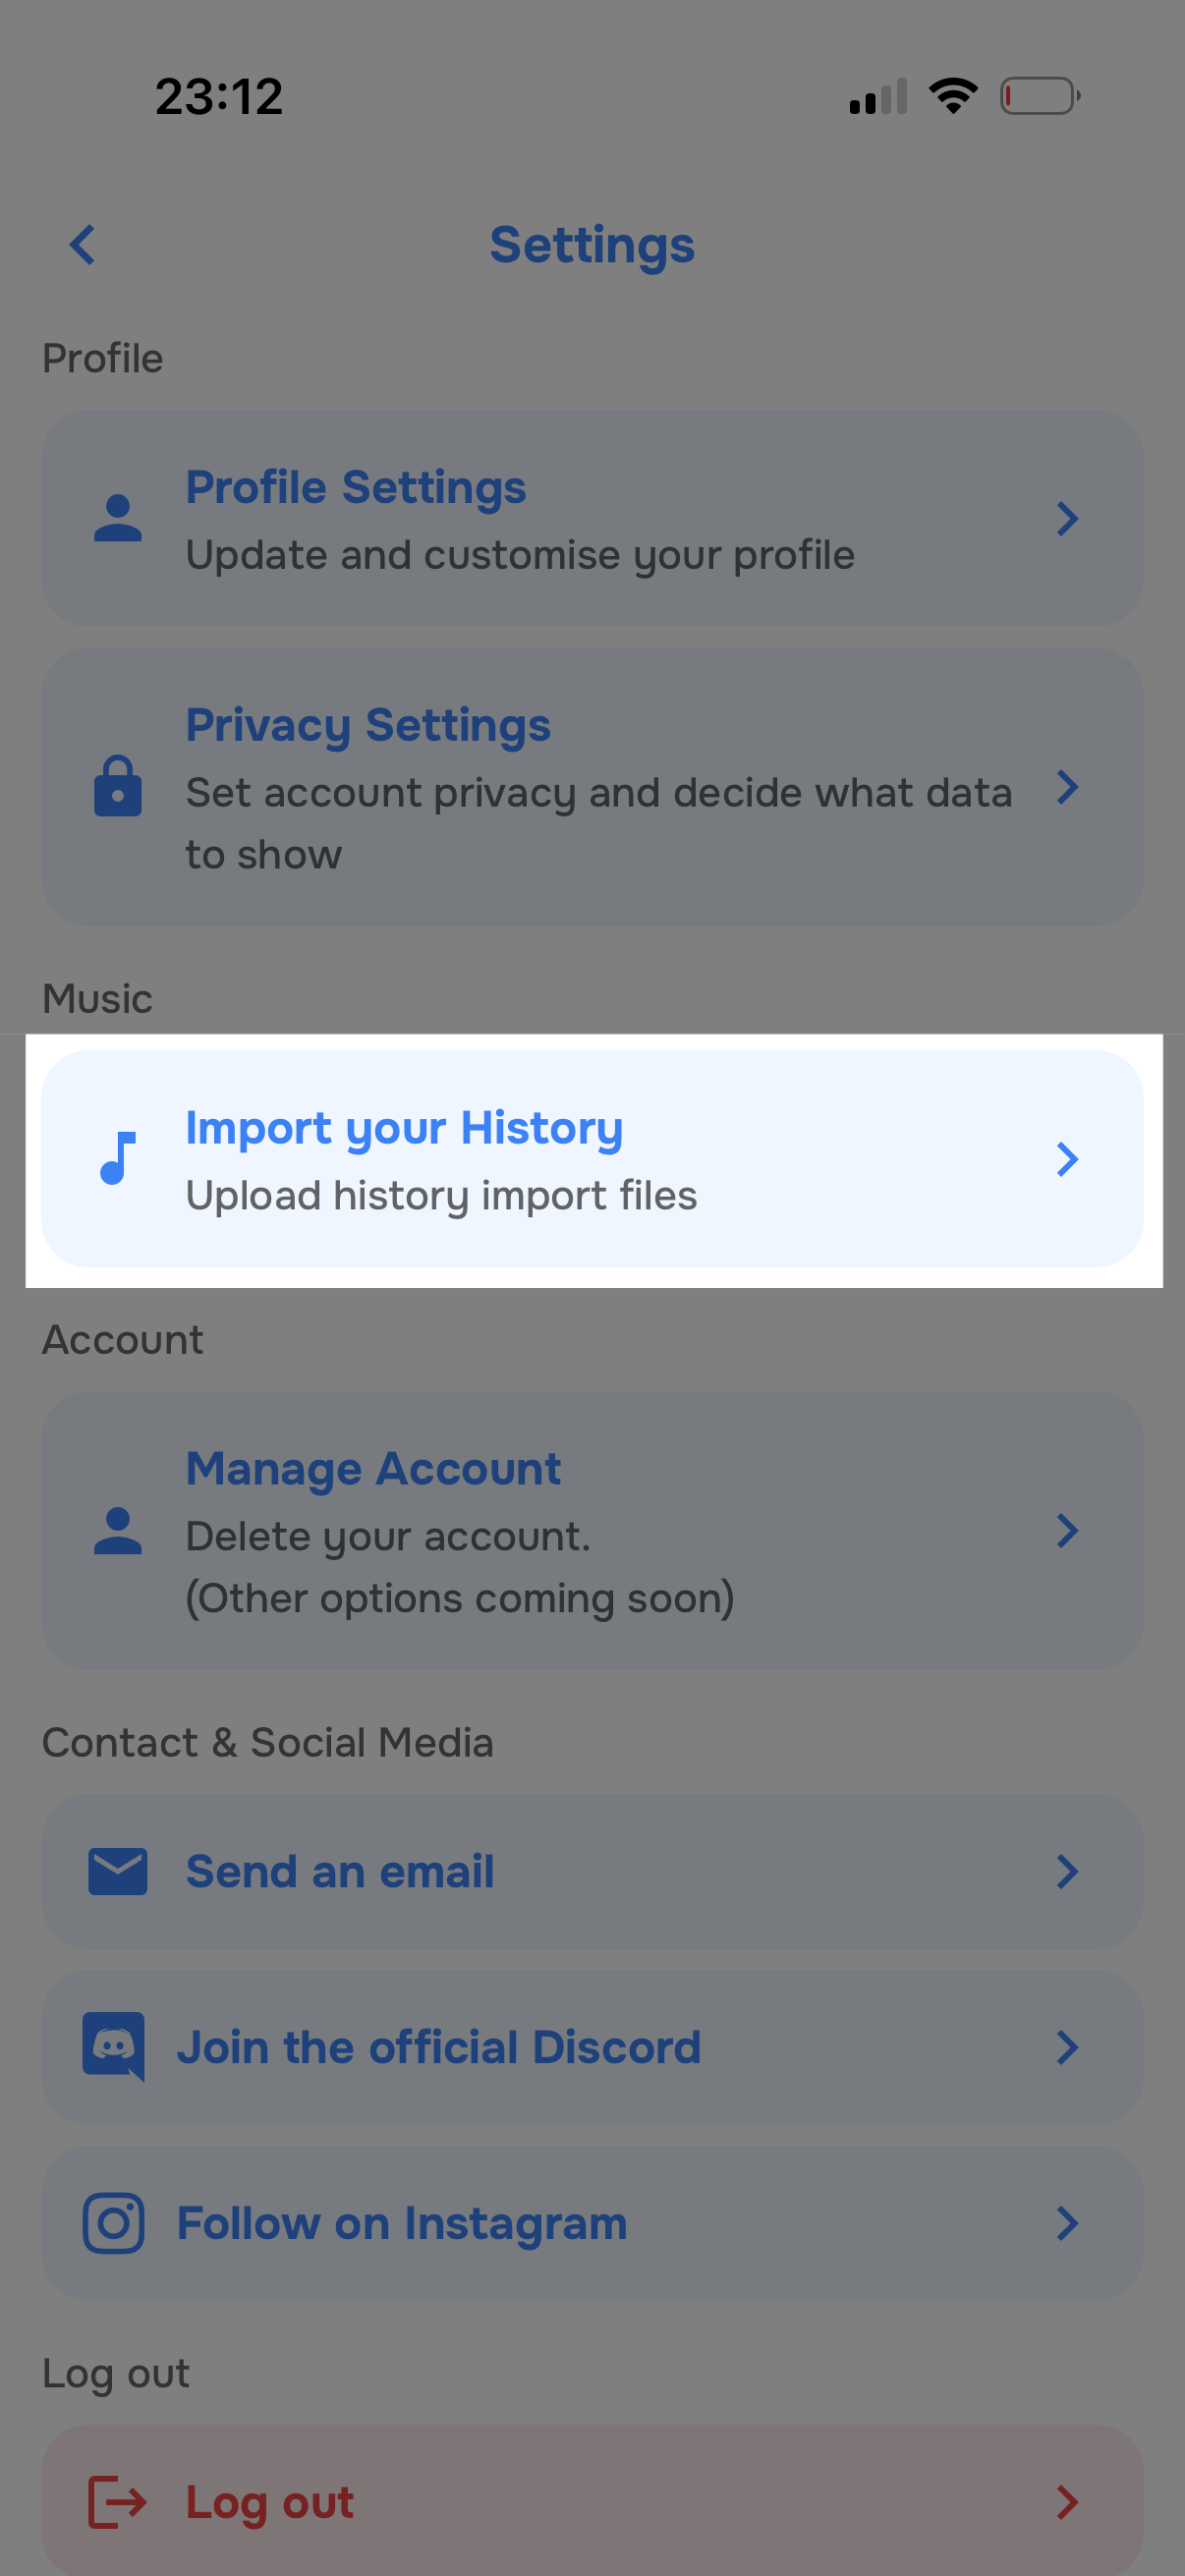
Go to your profile and click the settings icon () in the top-right corner.
-
Open the "Import your History" settings.
- Click the "Upload your files" or "Upload more files" button at the bottom of the screen.

- Click the "Select files" button to open the file picker.
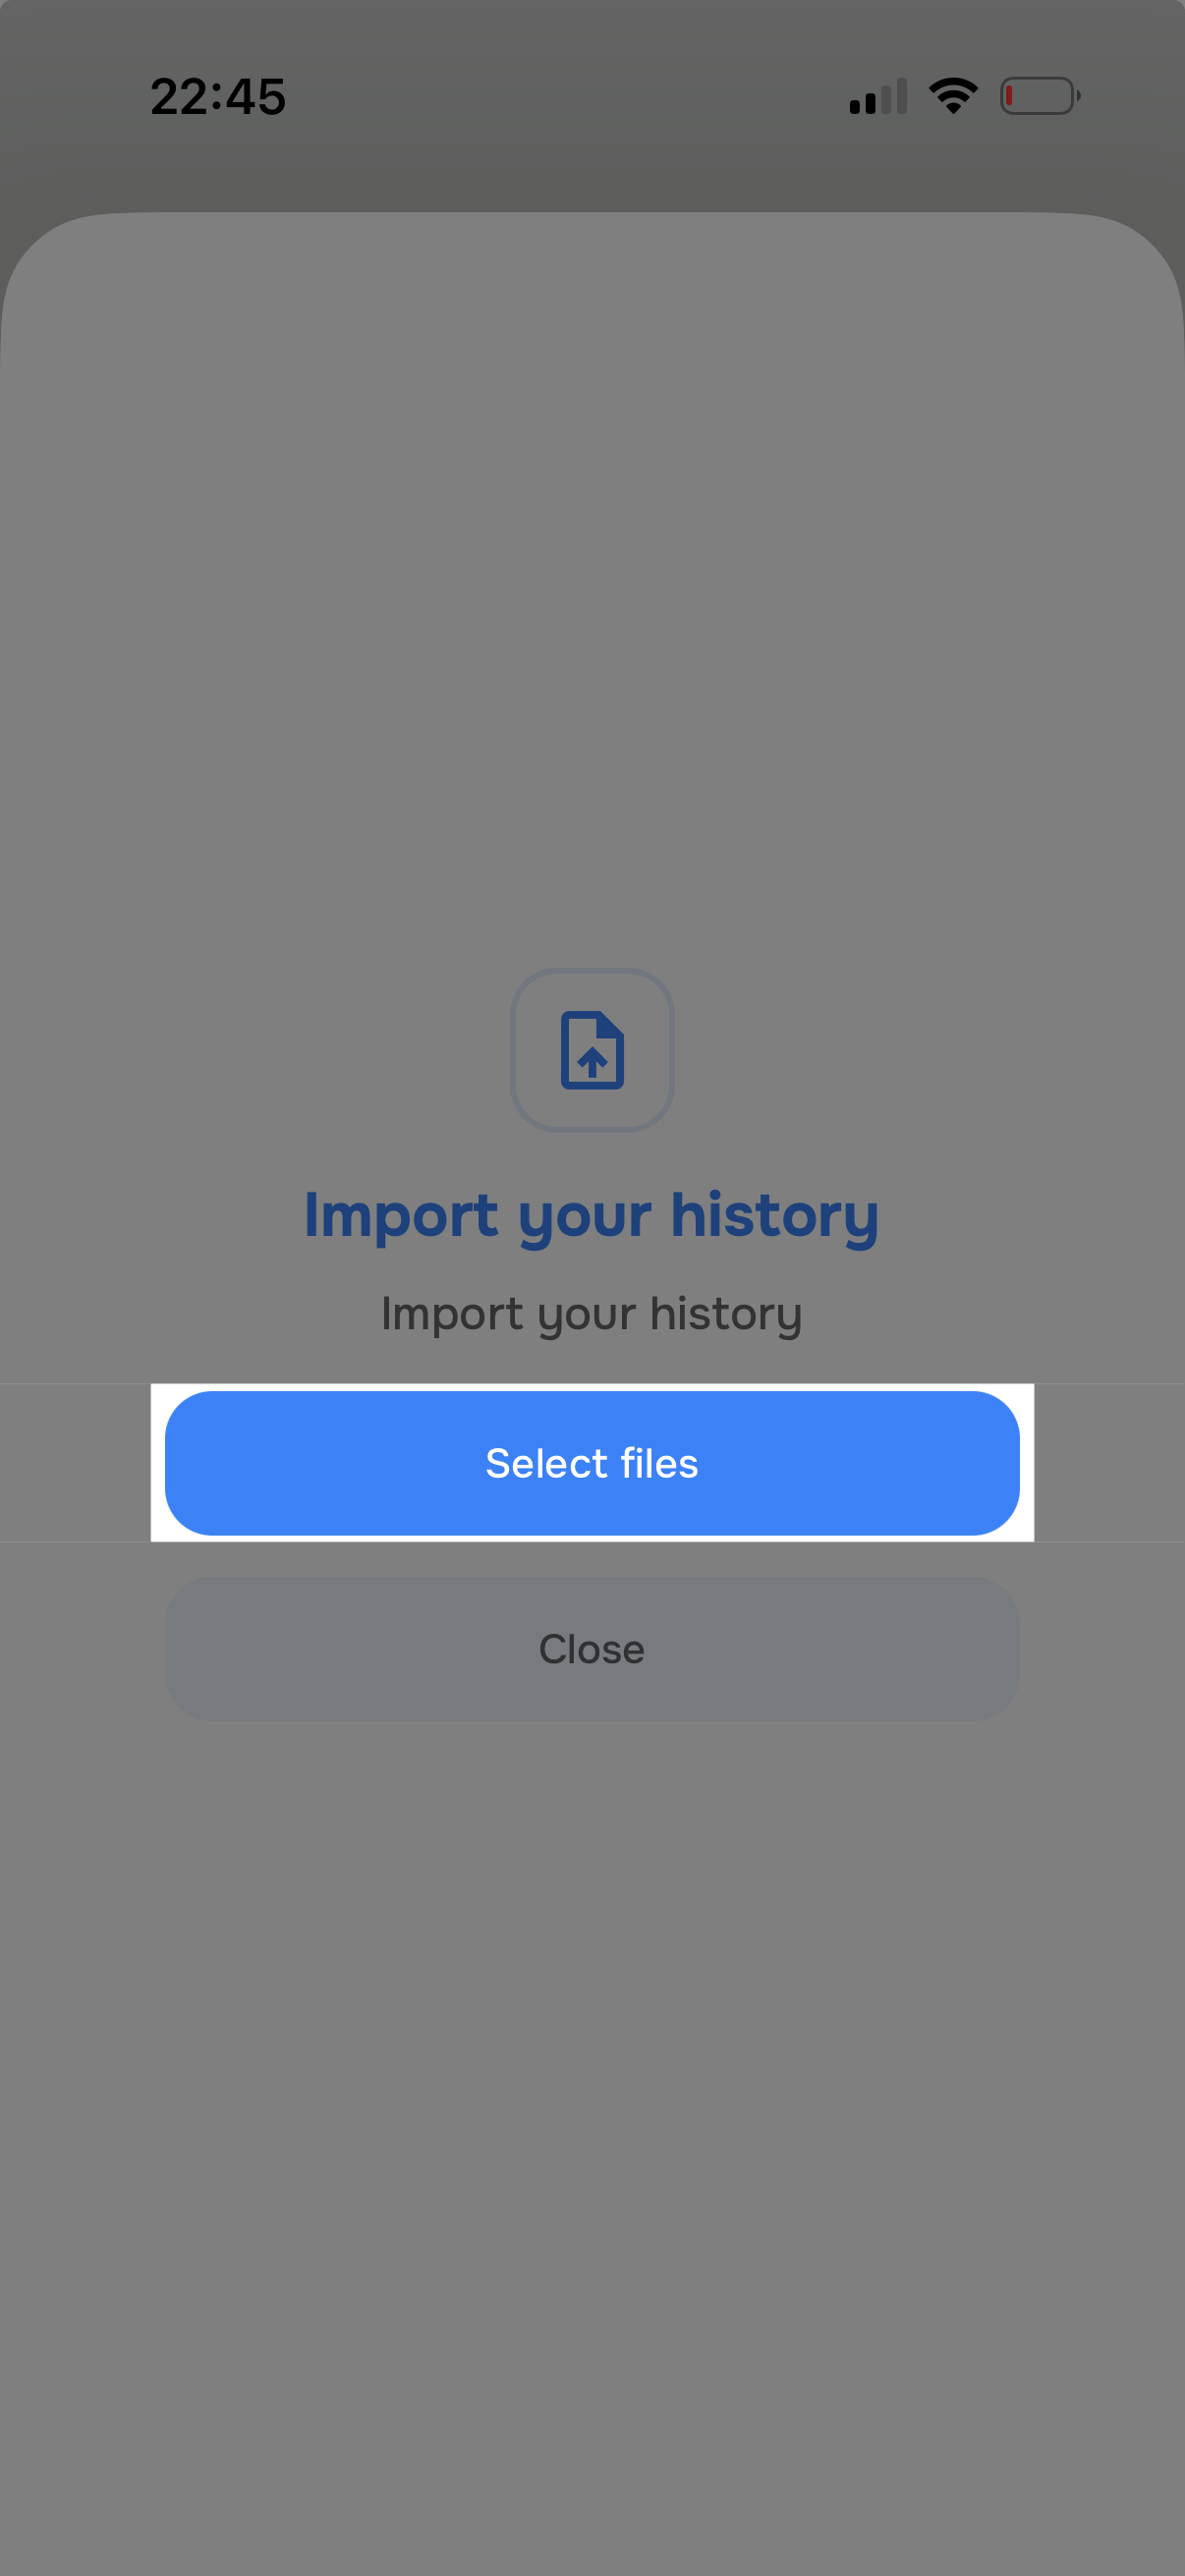
- Select the correct files.
Upload the files that start with "Streaming_History_". If your extracted folder contains more files, you don't have to upload those.
Step 6: You're set!
Now you job is done! You can see the import status of each file from the "Import your History" settings. This may take a while.